Board Tyness customer tele information

1.Dangers and warnings
The manufacturer cannot be held responsible if the instructions in this manual are not followed.
Any intervention on the product must be carried out by a qualified person.
The product must be replaced by a qualified person.
The product must be used in accordance with the specifications in this documentation, otherwise it may cause danger.
No part of the product should be replaced or removed.
2.Description and use
A Tyness can be equipped with an additional board for remote customer information link. It has a port for customer teleinformation connection of Enedis meters and two digital inputs.
The TIC port (Teleinformation Customer) is compatible with the following meters: Blue, Linky, yellow, PME-PMI, ICE, and sapphire.
The digital inputs have 3 operating modes:
- a pulse counting mode (compatible with water and gas meters)
- an input status reading mode
- a time counting mode of the active duration of the inputs
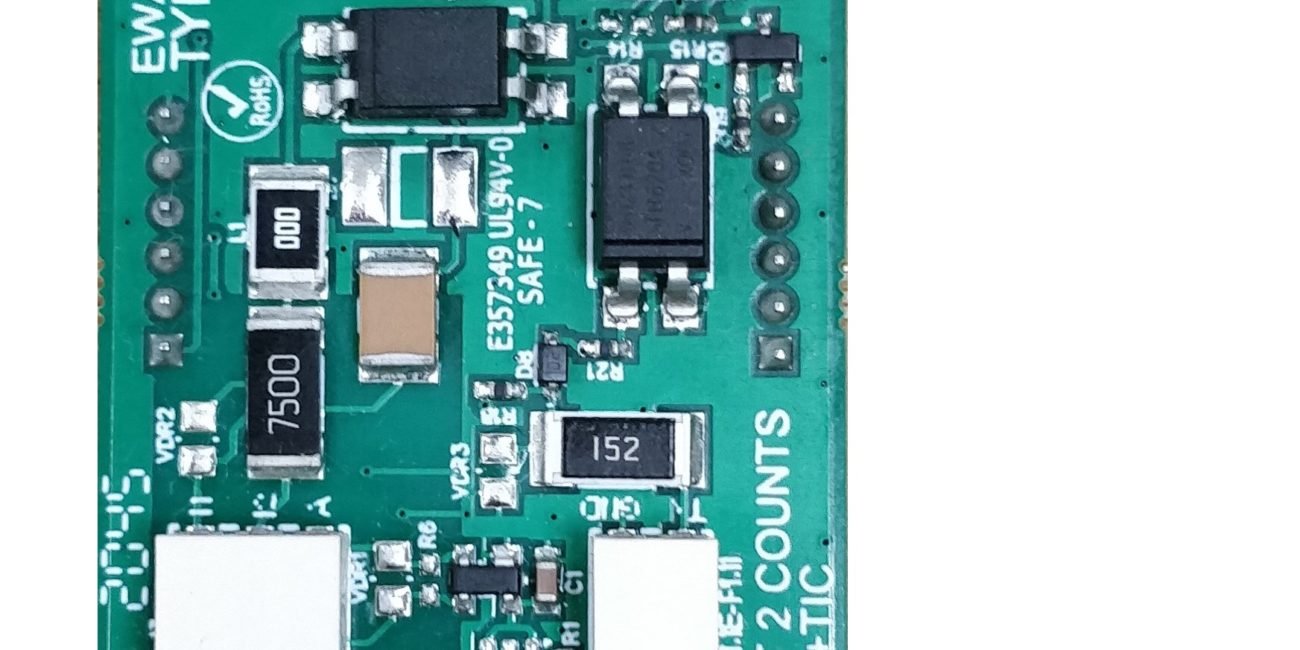
The board is designed to be installed on Tyness.
It includes 2 and 3 pole terminal blocks type AVX series 9276. The silk-screen printing on the printed circuit specifies the function of the terminal block.
The board is powered by the Tyness.
Reference : TYNESS-OPT-TIC (An 80cm RJ45 TIC cable is provided)
This board is compatible with a battery operation of the Tyness via the TYNESS-OPT-PACK-PILE option
3.Technical features
Terminal block assignment :
4.Implementation and wiring
The Tyness and the card must be powered down.
Attention: If the card is to be connected to a PME-PMI meter, the right terminal block must be used and the selection jumper must be placed on the PME-PMI side.
The card must be installed on the connectors of the EXT.1 or EXT.2 slots of the Tyness
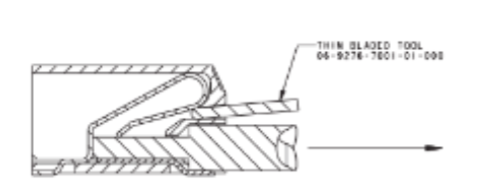
The input wires must be inserted into the terminal blocks as shown below.

In order to remove a wire, you must first insert a fine tool into the opening above the wire as shown below. This will release the wire.
Wiring of the RJ45 TIC cable of an Enedis meter
Pins 4 and 6 must be used. The Enedis meters are not polarized except for the SME-SMI meters.
In this case:
Pin 4 must be connected to GND
Pin 6 must be connected to TX
5.Setting up the board
The card is set up with the Tyness Configurator software.
Always use the latest version of the Tyness Configurator and make sure that your Tyness
has the latest firmware version. If necessary, proceed with an update.

1 – Click on ” Config ” of the pulse card
2 – In the ” Enabled channels ” insert, define which inputs will be active.
To do this: click on Counter 1 and/or Counter 2 and/or TIC
3 – “Data” insert:
- Define the period for sending measurements
- If a digital input is configured as “Impulse and cycle capture” (cycle time measurement), select the number of rising edges per cycle.
4 – “Tic” insert
- TIC baudrate is used to select the speed of the teleinformation link
- The “Reverse polarity” tick allows the polarity of the remote information link to be reversed. This checkbox is only useful in the case of SME-SMI meters.
- The “Tic Debug” button allows to check that the communication with the meter is correctly established. See section “Tic debug” of this documentation.
5 – Define the operating mode of each input: insert “channels IO Mode
Impulse: returns the index of the number of impulses counted since the start of the product.
Input : returns the state of the input at the time the frame is sent (voltage detected or not)
Time count : returns the time during which voltage has been detected on the input since the product was started.
Impulse and cycle capture: returns the index of the number of impulses counted since the start of the product product and the time since the previous pulse. The “pulse per capture cycle” option allows you to measure the time since a greater number of pulses.
6 – Once all the values have been entered, validate by clicking on ” Write “.
If the operation was successful, a window displays “operation successfull”. Validate by clicking on OK.
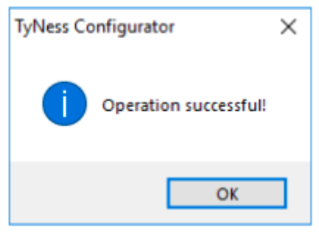
Your card is ready to use.
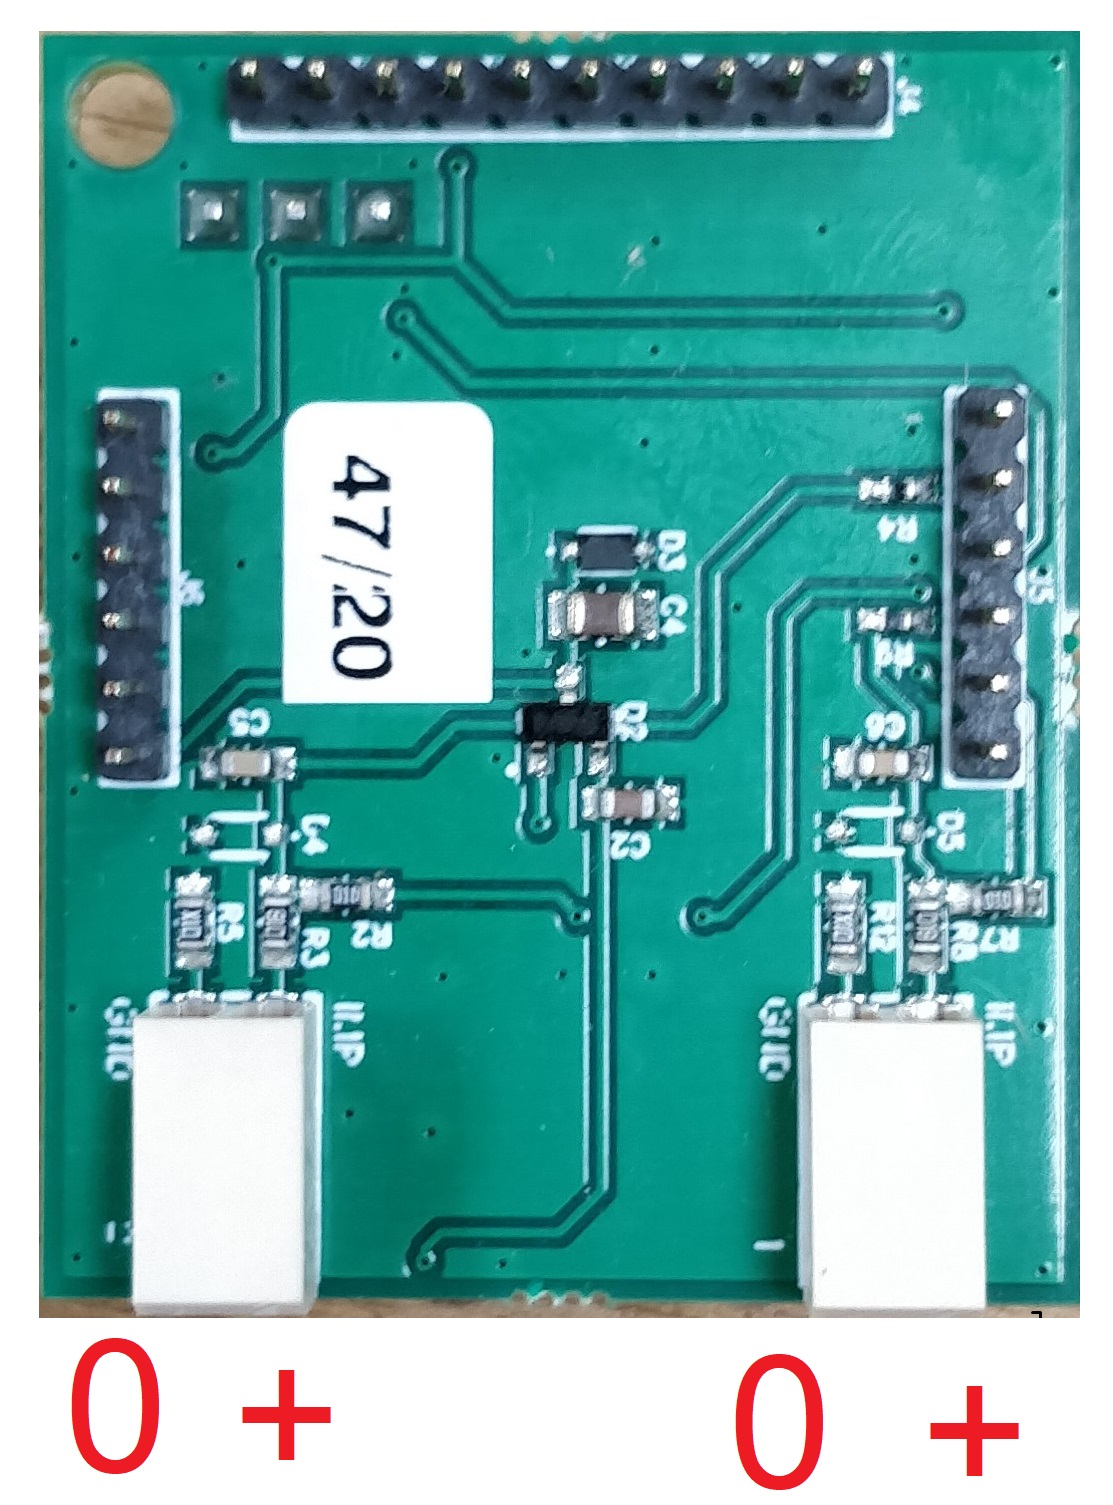
6.Reading of the pulse indexes
It is possible to read with the Tyness Configurator software the number of pulses counted by the Tyness.
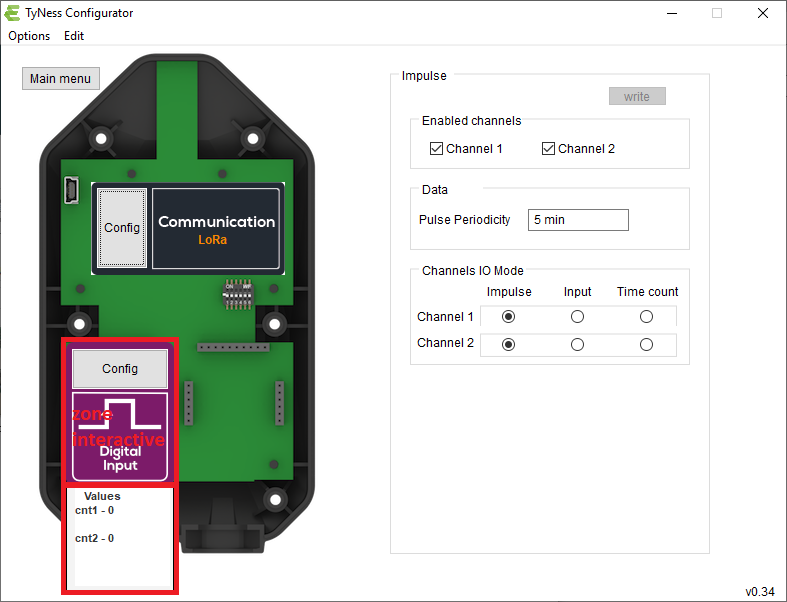
To do so, position the mouse on the image of the board, and the two counting indexes will display.
7.Validation of the remote customer information link
The Tic debug allows to validate the communication between the Tyness and the electric meter.
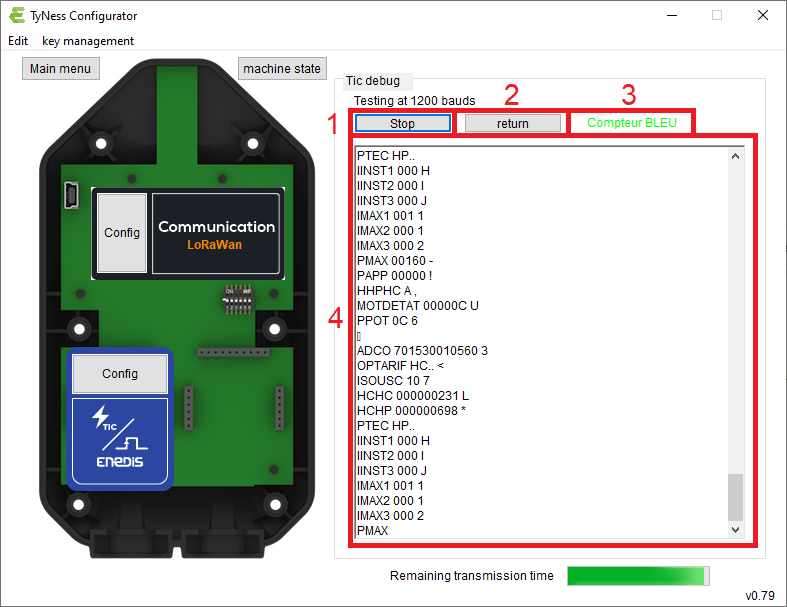
1 – Click on the “Start/Stop” button to start the diagnosis.
2 – The “return” button allows to return to the previous menu
3 – The result of the analysis is displayed here. If the text is green, the link is correctly established.
4 – This section displays the raw information received by the Tyness.
Diagnosis of error messages:
“Tic link faulty”: The meter messages are not readable. Check the communication speed and for a SME-SMI meter the polarity of the Tic.
“No meter”: No signal is received from the meter. It is necessary to check the wiring.
“Unknown counter” or “Counter error”: The link is successfully established, but the counter is not recognized.
Check the wiring and then contact our technical service with the counter reference and a copy of the messages displayed in the text field.
We will make an update as soon as possible to add this counter to our compatibility list.
8.Description of payloads
The description of the radio exchange format is available on request.
9.Contact

13, Rue Maurice Jeandon
88100 Saint-Dié des Vosges
FRANCE
sales@ewattch.com
+33(0)3.29.57.75.97
www.ewattch.com